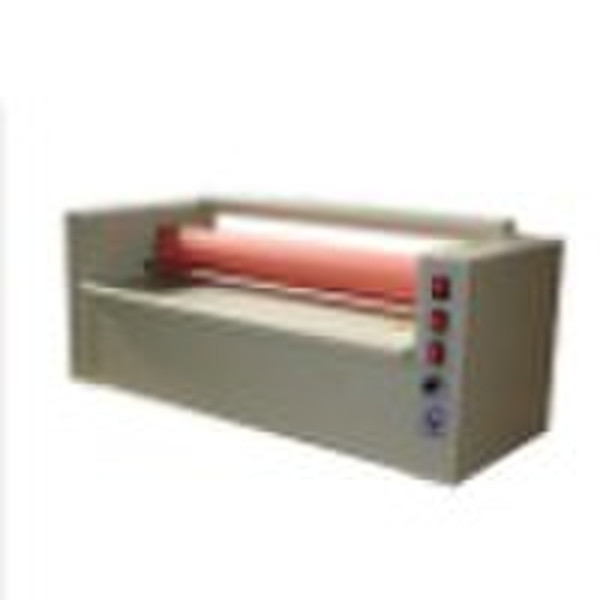
Cold laminating machines
original price: 9 500 USD

Jovi Zhao
Contact person
Basic Information
Cold laminating machinesFirst of all, thank you for using our pneumatic 3D mounted machine, please read this instruction book before operation.1,twist aluminum button of the lifting device anticlockwise, lower the upper roller in parallel.2,open the power, turn on motor switch, adjust the speed to intermediate speed or low speed.3,adjust the lifting device to the lowest.4,Cold mounted the pictureFirst, the machine has conjoined pairs of foot switch. First open the right button or left button by foot switch, raise the upper glue roller, to make a 3-5mm gap from the next roller. And then put one end of cold mounted lamination into the middle of glue roller, about 10-20mm or so, to lower the glue roller, press the cold mounted lamination. Raise the lamination; put the photo in the middle of laminations. Switch the manual jog dial, then pick up the lamination on both sides of the corner by hand, don’t make the lamination suddenly fall, otherwise causing blistering, stamp another foot switch, so that painting mounted forward.Second, If mount grating films; you can raise the upper roller through the button of the lifting device according to film thickness. This device can also be parallel to adjust both sides of the parallel, if you find it grab paper by tight pressure, upgrade the tight side until it is parallel.Note: This machine input voltage 220V
Delivery terms and packaging
Port: Guangzhou China
Payment term
Telegraphic transfer
Western Union

-
Payment Methods
We accept: